Your education should be as unique as your goals and dreams.
No matter where you are or what you’re going through, our different tracks make it possible for you to pick the path that’s right for you so you can build the life you want.
Your path to a brighter future starts with Citizens High School.
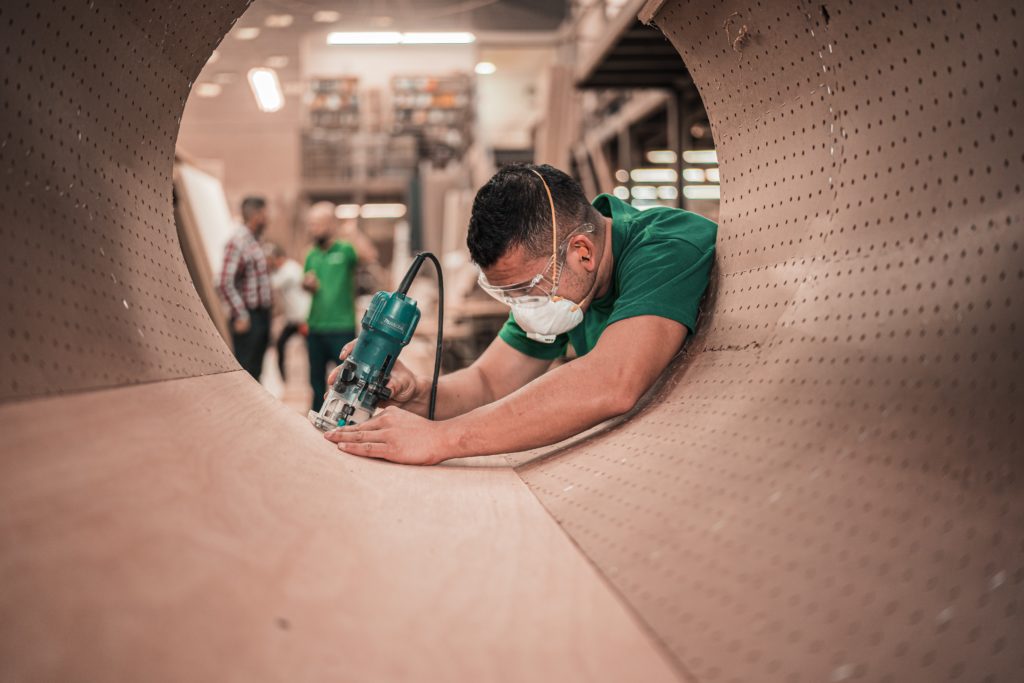
A high school diploma is the key to unlocking a world of opportunities, but the traditional high school model doesn’t work for everyone. Real people have jobs, families, and other responsibilities and challenges that make it difficult — or just plain impossible — to sit through classes for several hours a day.
We make it easy for you to earn your high school diploma through our online program, where you can:
Study at your own pace
Use simple tools to plan your own path
Gain key skills and knowledge
Stay on track to successfully meet your goals
Learn from understanding teachers
Get Support at every step of your learning
Over 8,000 graduates
—
and counting!
At Citizens High School, we know you want to achieve success and move forward in life. The problem is that traditional education often creates barriers that keep you from getting the diploma you need, which can be really frustrating.
No obstacles should get in the way of your pursuit of success in life. That’s why we’ve developed a fully accredited online high school program to help you.
We’ve helped thousands of students complete their high school education in a way that works for them. Are you ready to join them?
I am immensely proud of the diploma and transcript, which serve as a testament to the hard work, dedication, and countless hours of study I have invested over the years. They represent the knowledge and skills I have gained during my time at Citizens High School, shaping me into the person I am today. I am truly grateful for the educational opportunities and experiences that the school has provided me.
I wanted to find a place to learn more and be more comfortable to do my work, and my mom was helping me and she found Citizens High School. When she told me about it I said, "It sounds great I want to" and so she enlisted me and I've really enjoyed it, so much and I've learned a lot more.
I would like to extend my heartfelt appreciation to each and every member of the administration, faculty, and staff for their unwavering commitment to excellence in education. The guidance, support, and encouragement I received from my teachers were instrumental in my academic success, and I am forever indebted to them for their dedication and passion.
This was a new way of studying for me. It was really hard, because my English was not the best. At some point I thought that I could not make it. I felt I was slowly giving up or that I was losing my strength. When I was feeling like that God put my family, friends, and you guys to help me and gave me the boost that I needed. Since then I said to myself “This is the road you have to go through if you want to get to the finish line and begin with your life”. So every day, even when I was not feeling my best, I tried a little bit, and step by step I was nearer to the goal. Now I can say that I crossed the finish line and I’m in my way to begin with my life.
Previous
Next
Your diploma is waiting.
1
Enroll in our high school program.
Choose the path that’s right for you.
2
Complete the courses you need to graduate.
Learn where, what, and how you want.
3
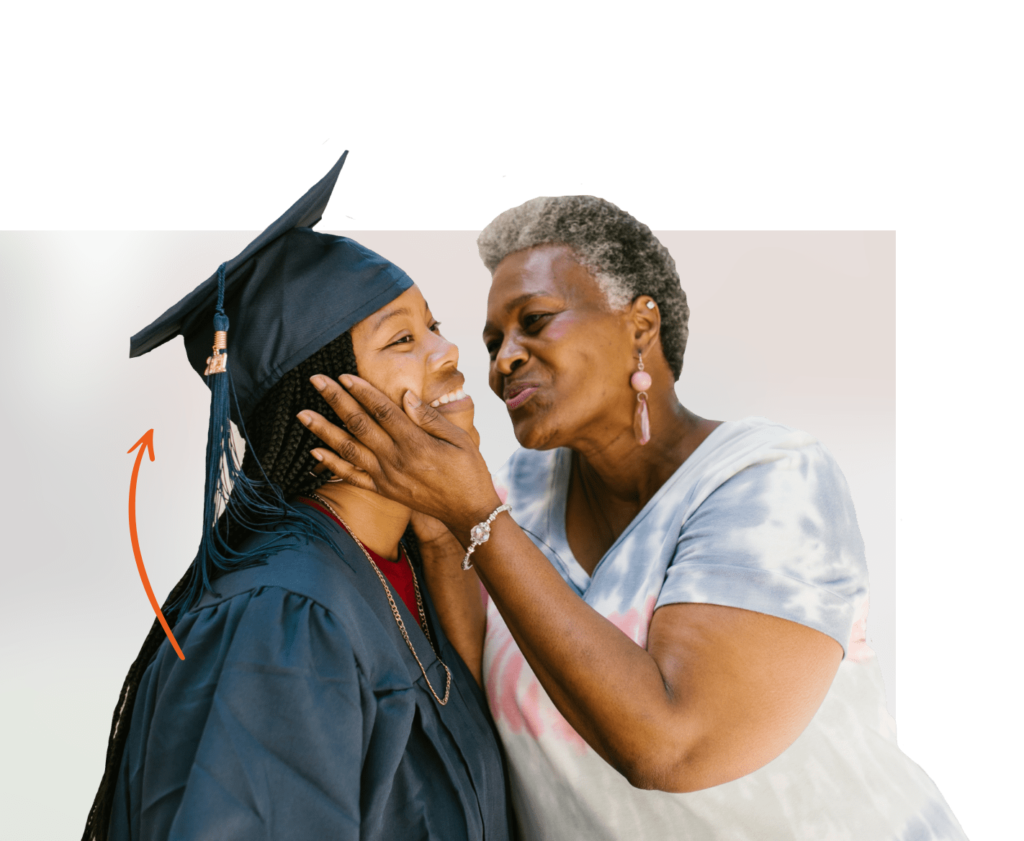
Earn your high school diploma and begin your next chapter!
Celebrate your achievement and move forward in life.
Tell us about yourself and we'll help guide you toward your educational goals!
Template is not defined.
You may also ask us a Question Here
Pick the pathway that’s right for you!
Tell us about yourself and we’ll help guide you toward your educational goals!
Online High School Options
Whether you need a full course path to get an accredited High School diploma, or just want to take some Individual Courses, we have exactly what you need.
Diploma for a
Better Job
Tired of the same old dead end jobs? Finally graduate and move on up!
We use cookies and other tracking technologies to improve your browsing experience on our website, to show you personalized content and targeted ads, to analyze our website traffic, and to understand where our visitors are coming from. By browsing our website, you consent to our use of cookies and other tracking technologies.Accept and Close